Rose Engine – mk2
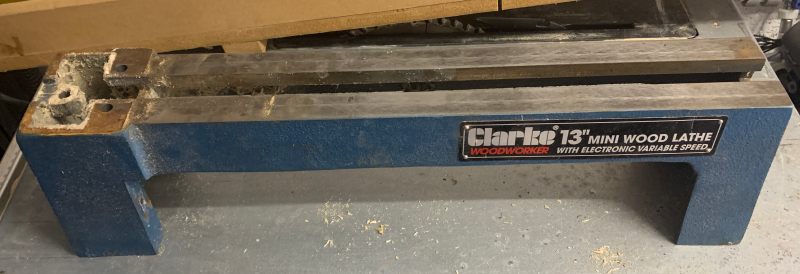
After updating my Rose engine lathe with the new cross slide and motor I decided that it was time to make a more professional rigid lathe that I could expand further. I found an advert Clarke CWL325V lathe being given away free of charge because the electronics side was faulty. On checking the specification of this lathe it looked like the cast iron bed was the same length as my existing MDF bed and so I contacted the owner and collected it from him.

The first job was to strip it down the lathe and to remove the motor, headstock etc and to strip it down to the bare bed which was a job that took about 10 minutes.
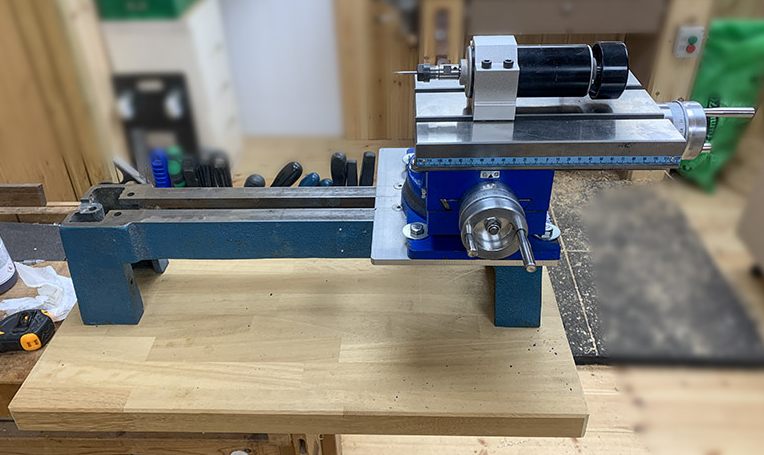
I have two 8mm aluminium plates that I bought from Aluminium Droitwich on eBay to mount at either end of the lathe bed one to mount the cross slide and the other for the headstock.
The next job was to mount the lathe bed onto an off-cut of solid Iroko worktop and then to drill and tap one of the aluminium plates and the lathe bed and mount the cross slide to the lathe bed.
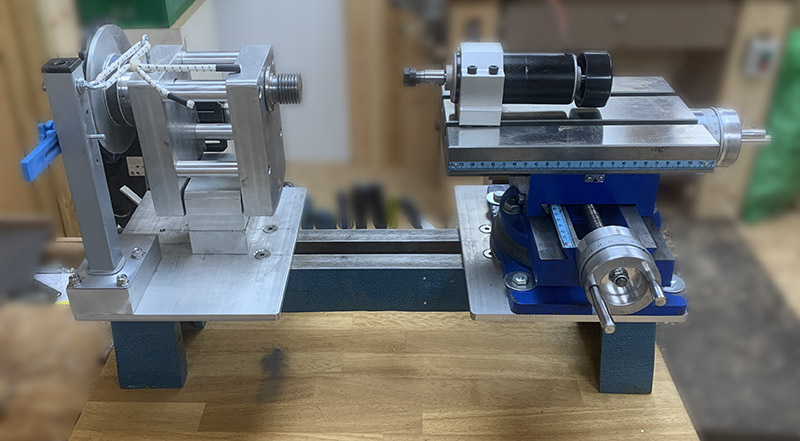
I then mounted a similar plate at the headstock end and had to increase the mounting blocks for the rubber and the headstock by 33mm to get them to line up with the CNC motor mounted on the cross slide. With the postal workers strikes in the UK I had to wait some while for the aluminium spacer blocks to arrive.
The final job was to mount all the electronics in a suitable case. As I found out after I had built the original Rose Engine I did not need the 5v power just purely 12 v and so I retired the modified computer power supply. I am now using an external 12v 5 amp laptop type power supply that plugs into the rear of the case and is mounted with some 3D printed brackets at the rear of the headstock.
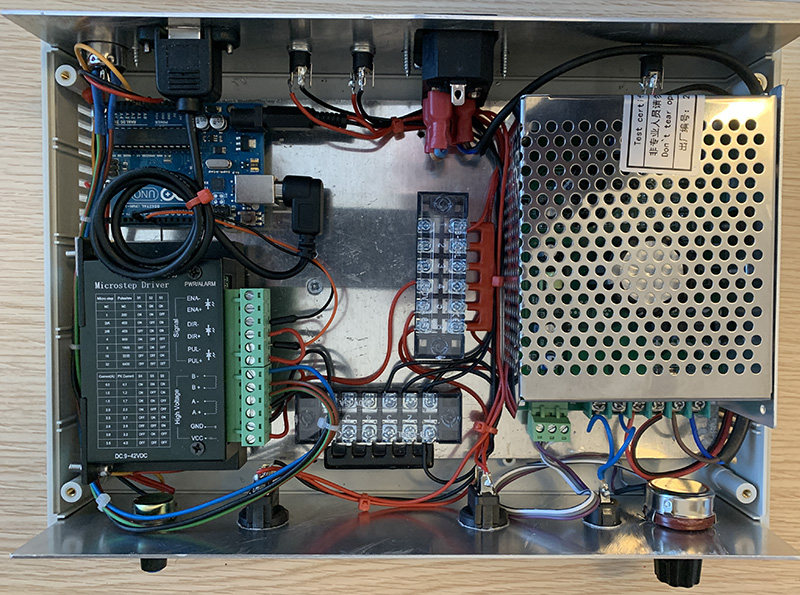
It was then just a matter of testing that I had wired everything correctly. I found that the speed control variable resistor was wired the wrong way round so had to reverse the outer two wires and all was fine. So now this is the finished job ready for use.
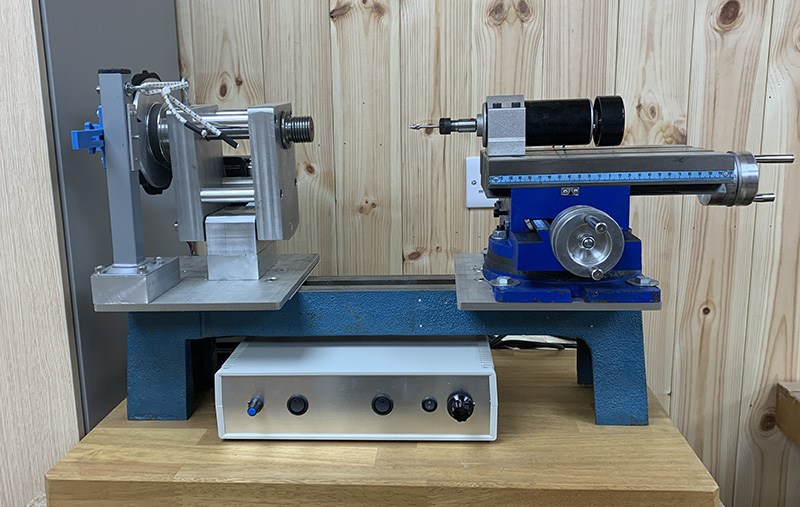
The next modification will be to beef up the rubber mounting and to replace the bungee cord spring. However I will do some turning on it first before I start on that.