Lathe variable speed conversion
Variable speed lathe upgrade
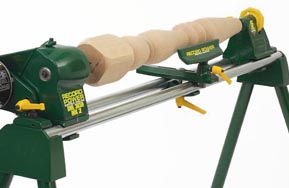
I have a Record DML 24X lathe that has been previously upgraded with the swivel head and the four speed pulley conversions. I found the four speed conversion a limitation and wanted a variable speed lathe. I don’t turn very large items and I have a considerable investment in accessories for this lathe (chucks, drives, tool rests etc) and so felt that it was better to upgrade to variable speed rather than replace it. This is a description of how I performed the upgrade.
PLEASE NOTE THAT IF YOU FOLLOW WHAT I DID IT IS AT YOUR OWN RISK. YOU ARE DEALING WITH LETHAL VOLTAGES AND SO IF YOU ARE UNSURE OF WHAT YOU ARE DOING DON’T DO IT. I CAN IN NO WAY BE HELD RESPONSIBLE FOR ANY INJURIES OR DAMAGES THAT YOU OR YOUR EQUIPMENT SUFFER.
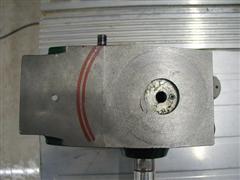
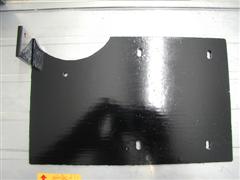
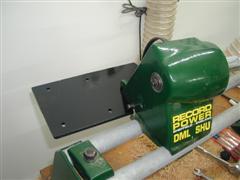
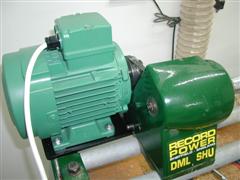
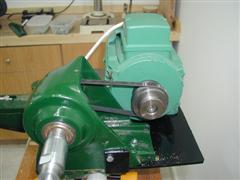
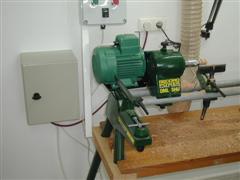
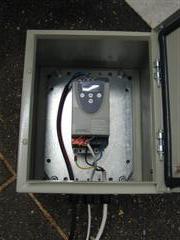
This photo shows the inside of the mounting box for the 3 phase converter. It is mounted on a substantial steel plate for a heat sink. The specific details about this will be unique to the individual converter that you use.
Please remember there are dangerous voltages in the cabinet and follow all the warnings and advice that come with your converter.
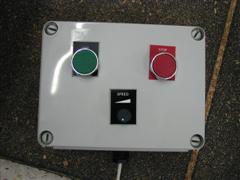
This photo shows the simple plastic housing with the start and stop push buttons and the variable resistor for the actual speed control. The controls work at 12 volts so there are no dangerous voltages within this housing.
Ensure that you have the manual for your converter as this is what contains all the wiring information. My converter required a three core cable as the single phase input, four core cable for the output plus six core (ideally screened) for the stop/start and speed control. I re-programmed the converter (detailed in the manual) for momentary action start and stop buttons rather than latching buttons (that is personal choice).
The converter is continually powered as Spanish outlets are not switched. I will be buying a suitable power switch and fitting it to the converter cabinet so that I can turn it off without unplugging in the next few days.
So was it worth it yes most definitely. It was easy for me to do and it gave me the flexibility that I needed for my turning.
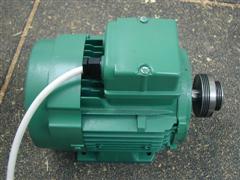
The 3 phase converter I got for £40 brand new from eBay www.ebay.co.uk. A new converter from a retail supply outlet is ~£150 so this is what made this upgrade feasible, converters are regular items on the UK eBay website. The motor I got from a local motor rewind firm that I found in the Yellow Pages and it cost £60. The cable housings and controls came from a friend who got them from Radio Spares but they should be available from any decent electronics supply house such as Maplins, CPC etc.
All in all it cost me about £140 and took about 6 hours to make, this six hours was spread over two weeks due to other commitments.
These instructions should be fairly generic and allow you to do this upgrade to any wood lathe without variable speed.